What is gel time?
Gel time means how long it takes for a liquid glue or resin to change from a liquid that flows to a solid gel at a certain temperature. It is the amount of time you need to add accelerators, initiators, etc. to thermosetting resins to make a gel. This idea is mostly used to figure out how long it will take for an adhesive or thermoset resin system to complete a cycle in a certain application based on how long it takes for a sample to gel or cure and break.
For example, in terms of technology, if the gel time is too fast, it doesn’t allow for degassing and the heat release is too concentrated, which can cause the product to burn. If the gel time is too long, it will affect the efficiency of production and may cause the product to cure poorly.
There are a lot of things that can change how long it takes for the gel to set, like accelerators, curing agents, temperature, humidity, stack thickness, etc. So, to control the best time for a gel to set, these parameters must be taken into account to make a link. As long as one part of the system changes a lot, other parts should be changed to keep things in balance and make sure the gel time stays within a good range. So, it’s important to get into the habit of measuring the gel time and writing it down, as well as building up a set of standard procedures.
How is gel time measured?
In the industry right now, there are different ways and tools for testing gel time. For example, the gel time tester uses the drawing principle. Start the stopwatch and watch the flow of the test sample with a glass rod every 30 seconds until the drawing state happens. Then, stop the stopwatch and write down the time shown by the stopwatch. For the epoxy resin gel time measurement method, the gel time can be shown by stopping the epoxy curing system’s standard plunger from moving back and forth. But it has strict rules about how the plunger should be shaped and how it should float.
The test sample is also big. It works for epoxy resin curing systems with a gel time of at least 5 minutes at the test temperature, but not for systems that work below room temperature. Resins, resins with a high viscosity, and resins that are filled. All of the current test methods have problems, such as test errors, broken hardware, and a small test range.
How does a Gel time meter work?
The gel point of thermoset compounds is an important way to measure the rate of polymerization of things like resins, paraffins, varnishes, styrene, monomers, pottery-making compounds, melamine, formaldehyde, unsaturated oils, thermoset grains, and other polymerizable plasticizers. Most of the time, a gel point is marked by a sudden and noticeable change in the thickness (viscosity) of the material.
The gel time tester can be used to check the gel time of products like plastics with resin, glues, drying oils, two-component elastomers, and coatings. The instrument is easy to use and is made so that accurate measurements can be made at room temperature or at the temperature that corresponds to the ambient temperature.
By mapping the gel timetable, or gel point, the Gel time meter can tell how long something will last. The gel time can be easily calculated at two or more temperatures above the normal temperature and then extrapolated to the normal temperature. All of the points used to measure should be on a straight line. The Gel time meter is a reliable way to measure the gel time, which is the amount of time it takes for the gel to start to thicken up in a test where the temperature stays the same.
Measuring Principle
As polymerization goes on in a liquid polymer, it will reach a point where each molecule has an average of one crosslink. At this point, a gel will be seen. The resulting gel is soft, but it has the property of a solid that can get back to its original shape after being bent. Before a liquid turns into a solid, its viscosity goes up a lot.
Gel time instruments must differentiate between viscous and elastic states. Gel timers that work based on changes in viscosity are wrong in theory. They can be useful for quality control testing of specific products, but they can’t tell the time based on a basic analysis of the gel.
The Gel time meter is made with the above ideas in mind. A flat, weighted disc is connected to the electric motor by a connecting rod. The disc is in a polymer liquid where gravity pulls it down. The electric motor pulls the disc up, and when it reaches the gel point, the polymer is strong enough to support the weight of the disc. At this point, the link is compressed to close the circuit, the electric motor stops, and the sound and light cues come on. The gel time can be seen on the electric motor’s digital counter.
Which gel time analyzers are the best?
In the Americas, Sunshine is the main brand of Gel time meter. Currently, Sunshine doesn’t make or sell gel time analyzers anymore, and a large maker of thermoset materials is working with Brookfield to promote the DV2T as the best alternative to gel time testing for quality control.
A DV2TRV viscometer, a special magnetic coupler, and a glass rod make up the Brookfield Gel Time Tester (similar to a viscometer spindle). Magnetic couplers are very helpful when making instruments. The magnetic coupler can hold the glass rod in place very securely.
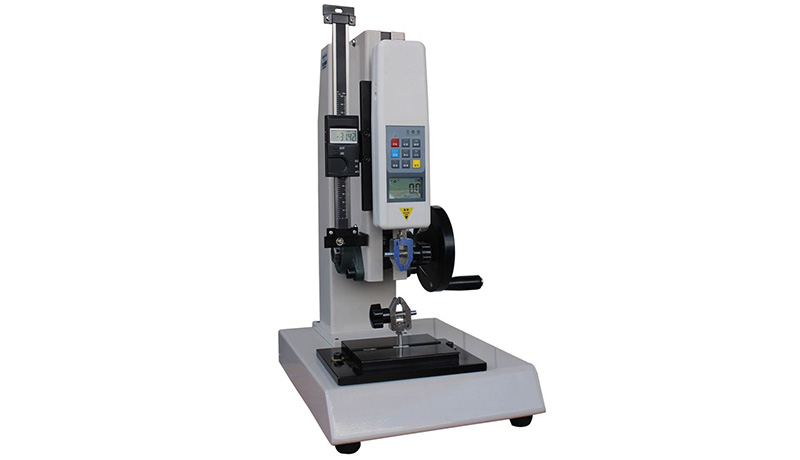
How to use a Gel time meter
Experiment procedure
1. Put the concrete on the instrument chassis. Loosen the adjusting screw sleeve and put in a suitable penetration needle.
2. Turn the adjusting screw until the pressure gauge’s pointer aligns with the zero line on the scale.
3. Put the action button switch in the adjustment position, the forward and reverse button switch in the forward rotation position, and the work button after the sample container has been there for 2 seconds. It starts to go up, and once it stops, it can be changed. When adjusting, loosen the adjusting screw sleeve to move the penetration needle so that it just touches the sample surface.
Tighten the adjusting screw sleeve to fix the penetration needle. Press the work button again. After 10 seconds, the sample container rises by 25 mm, or goes deeper. Read the resistance to penetration from the pressure gauge and write it down. After the sample container stays still for 4 seconds, it starts to fall. It takes 7 seconds to get back to where it started. After one test, the power is turned off automatically.
4. When the penetration test is done, the penetration position must be changed, and the handle must be pushed to turn it at a certain angle. When the point of penetration is in the outer ring, you only need to push the handle once to change the measurement point. If the point of penetration is in the inner ring, you need to change it. Two pushes on the handle are needed.
5. During the test, you should always make sure that the pressure gauge’s pointer starts at the zero position. If it is not at zero, it should be set to zero.
6. When the height of the penetrating needle doesn’t need to be changed, the action button switch can be put in the automatic position. This means that for the next test, all you have to do is press the start button once, and a test cycle will be done automatically.
7. Each sample should be tested for its resistance to penetration at least six times, and the resistance per unit area should be at least 28 MPa.
8. After a while of use, you can’t move the pointer of the pressure gauge to the zero line by turning the position of the adjusting screw plug. At this point, you need to add oil.
FAQ:
Why the resin gel time too fast and the exotherm happens too quickly?
1) There is too much solid and accelerator, and the amount added is too much.
Check the concentration of the system that helps solids form, especially the concentration of the accelerator. The effective cobalt content of cobalt salt accelerators on the market is between 0.6% and 8%, which varies a lot. Some compound cobalt salt accelerators contain additional accelerators (like DMA), which will speed up the post-curing of the resin and make the exothermic peak higher. Before you buy it, you should ask the seller about the concentration and type of the accelerator. On-site construction should have glue dispensing people and weighing equipment to correctly measure solids and accelerators. Avoid subjective judgments.
2) High temperature and direct sunlight
Curing agents and resin can also harden when exposed to heat or ultraviolet light. Resin will get much faster in high temperatures (above 35°C) or direct sunlight, so it should be kept as much as possible in a cool, well-ventilated, dark place. During on-site construction, the people in charge of mixing the materials will often make the gel last longer by adding less of the curing agent and the accelerator.
In the special case of high temperatures, the amount of MEKP curing agent that should be added should be strictly controlled and cannot be less than 0.8%. You can slow it down by slamming the accelerator. To change the gel time, it is recommended that the amount of cobalt isooctanoate with a cobalt content of 1% should not be less than 0.2%. Adding a polymerization inhibitor can also make the gel time last longer (such as 2, 4-P). Talk to the people who sell resin.
If the on-site gel time is very short and slows down construction, the following can be done to speed up batching:
First, do a small test to figure out how much solid and accelerator to add. Then, adjust to the right gel time, add a batch of resin (like 100kg) to 2 times the amount of accelerator used in the small test, and add 2 times the amount of accelerator used in the small test to another batch of resin. The curing agent is fully mixed in each case. Before building the rubber compound, mix together two kinds of materials that have already been mixed in the same amount.
This method makes it easy to weigh the curing agent and accelerator, spread them out evenly, and make small batches. Pre-mixed solidification resin and accelerator should be used up on the same day, especially rubber compound with curing agent, which should be kept in the dark.
3) The batch size of ingredients is too large
After adding the solid and the accelerator, the resin mixture will slowly give off heat. The amount of a compound affects how much heat it gives off, how fast the temperature rises, and how long it takes for the compound to gel. So, in construction, the rubber compound should be made in “small amounts and many times,” and a lot of the ingredients should be spread out into small batches. This can effectively lengthen the time it takes to gel.